After years of typing on thin Apple keyboards, my fingers started to hurt. First a little, then badly. Fearing for my career, I looked for solutions to fix that, and ended up splurging on a Kinesis Advantage 2.
I justified the expense by the fact that the praise for that piece of hardware is almost universal, and even our beloved thought leaders™️ seem to be in on it.
I swear by it now, but damn, that thing is loud.
Where does the noise come from?
As with all mechanical keyboards, there are two main sources for the noise:
- The case, which acts as an echo chamber amplifying the vibrations from the keys. This is particularly bad on the Advantage, with its large hollow space between the keywells.
- The MX switches themselves, especially if you’re bottoming out when typing.
To get rid of the noise, both of these problems have to be addressed.
1. Dampening the case
The best way to reduce the vibrations from the case is to line it with dampening foam. The dampening material will absorb the vibrations instead of letting them bounce around until they hit your ears.
There are various options here: Dynamat, Sorbothane, Neoprene or plain old packing foam. The trade-offs are cost and weight: the heavier the lining is, the stronger the dampening — more weight equals more vibrations absorbed. But these materials can get expensive pretty quickly.
I lucked out and found some cheap Dynamat Xtreme on a small local auto parts website, and installed it inside the case:
 The Kinesis Advantage with the Dynamat Xtreme.
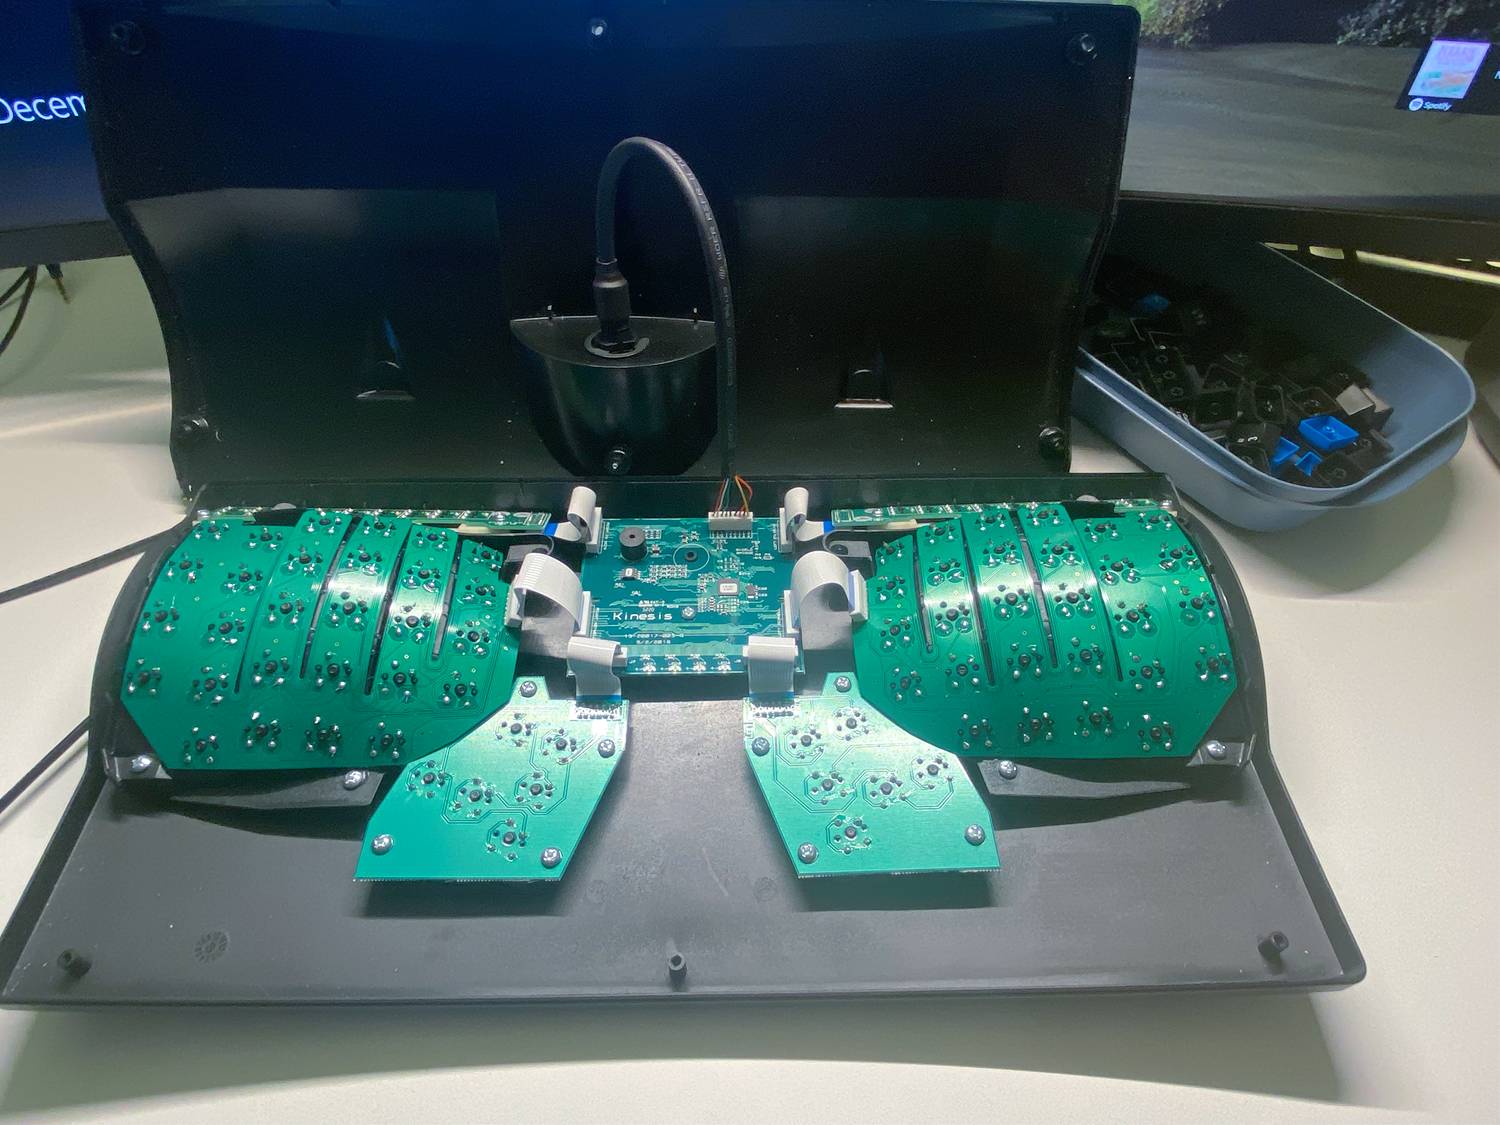 The inside of the case, with the PCB exposed.
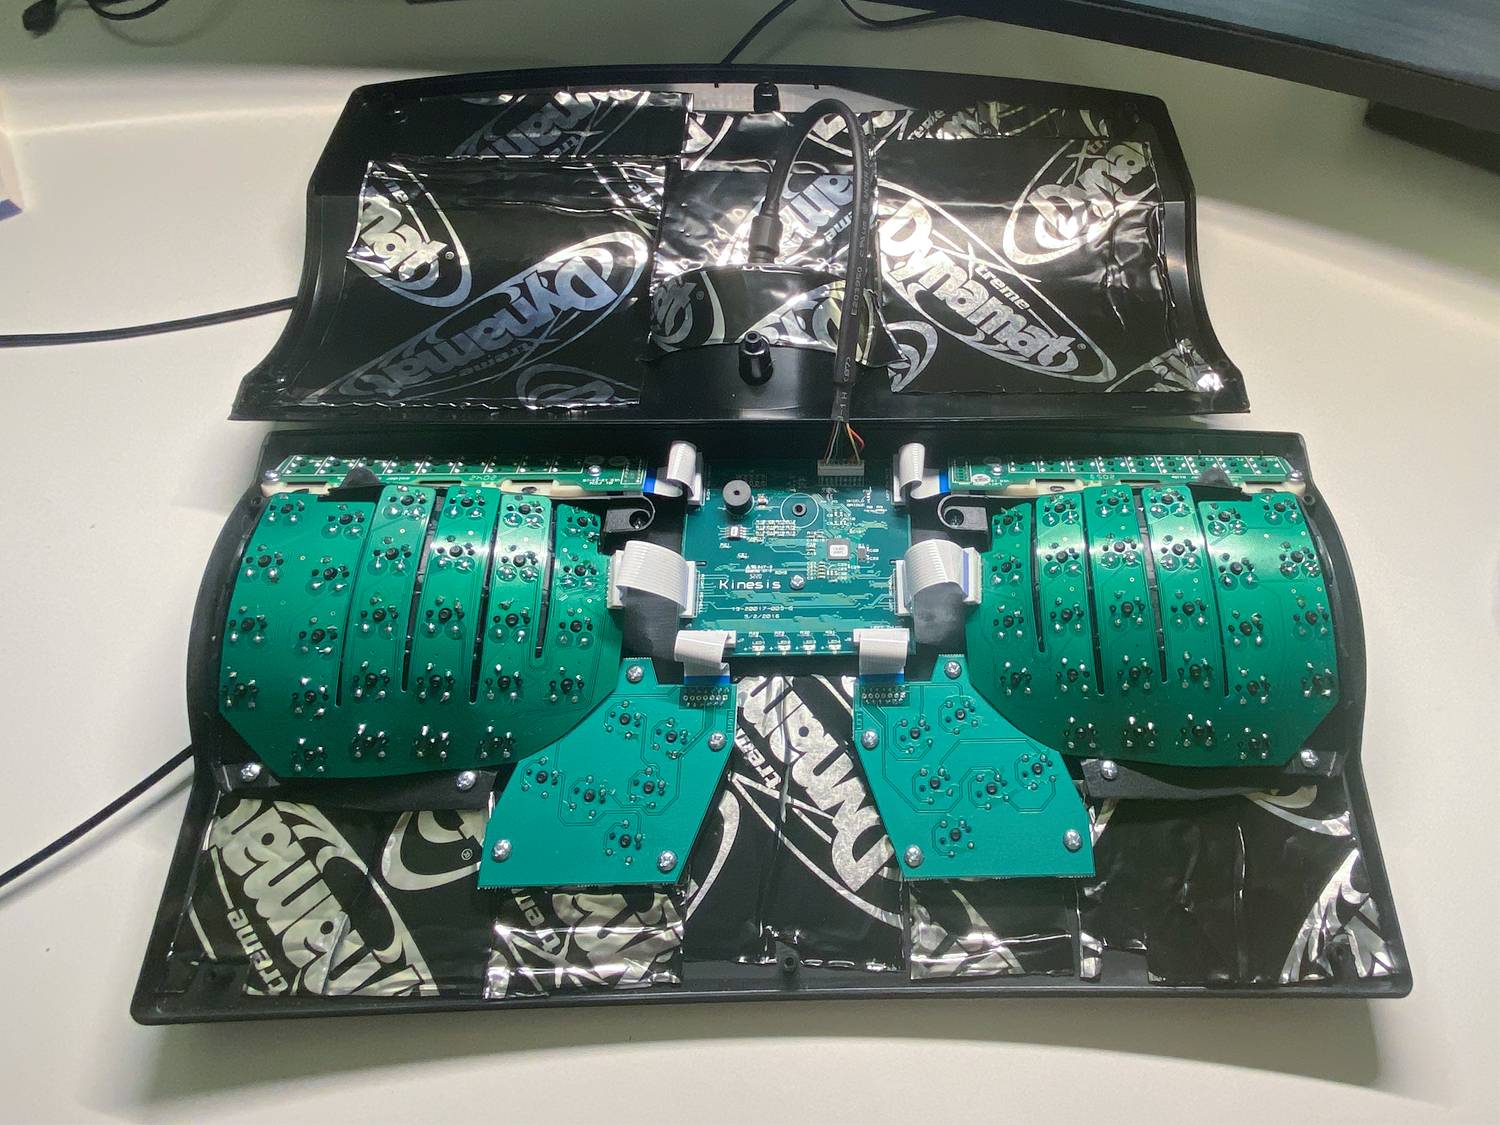 The case, lined with Dynamat Xtreme.
2. The switches
A classic drawback of mechanical keyboards is that the switches themselves are loud. Fortunately, this is an almost-solved problem, with solutions like the Uniqey QMX clips made to solve exactly this problem. So we can just throw money at it.
The clips come in two flavors: plate mounted and PCB mounted. The Kinesis Advantage needs both variants: the thumb cluster switches are mounted directly on the PCB, whereas the keywell ones are mounted on a plate.
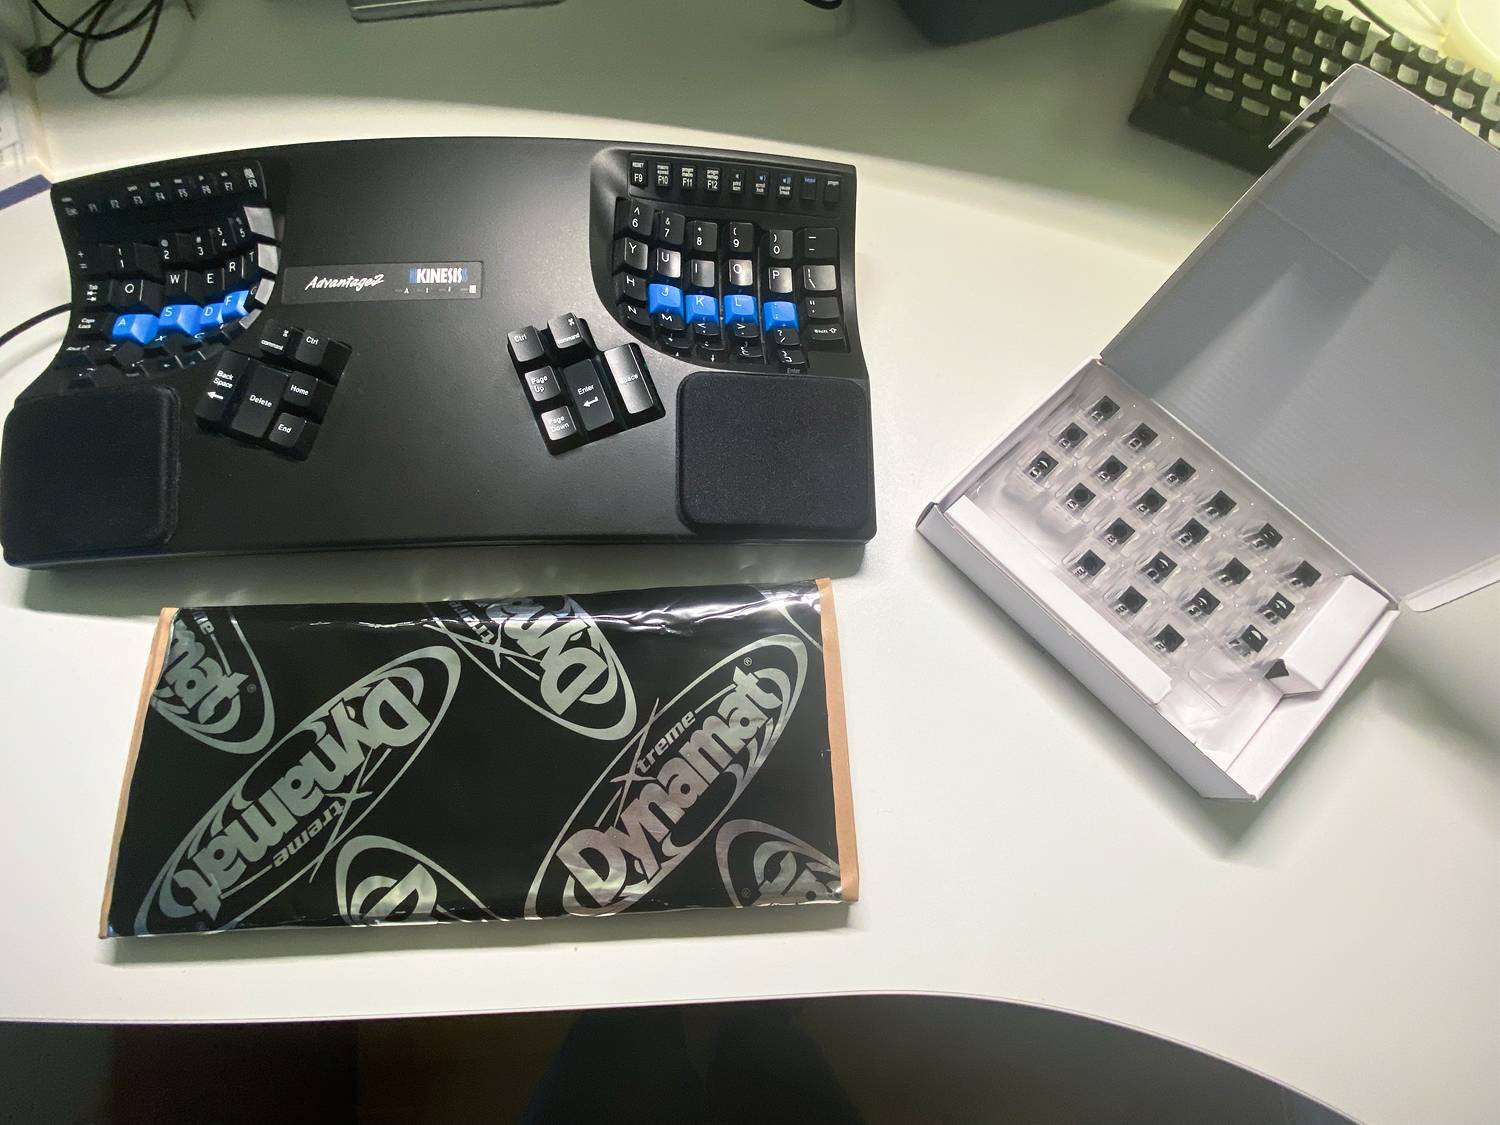
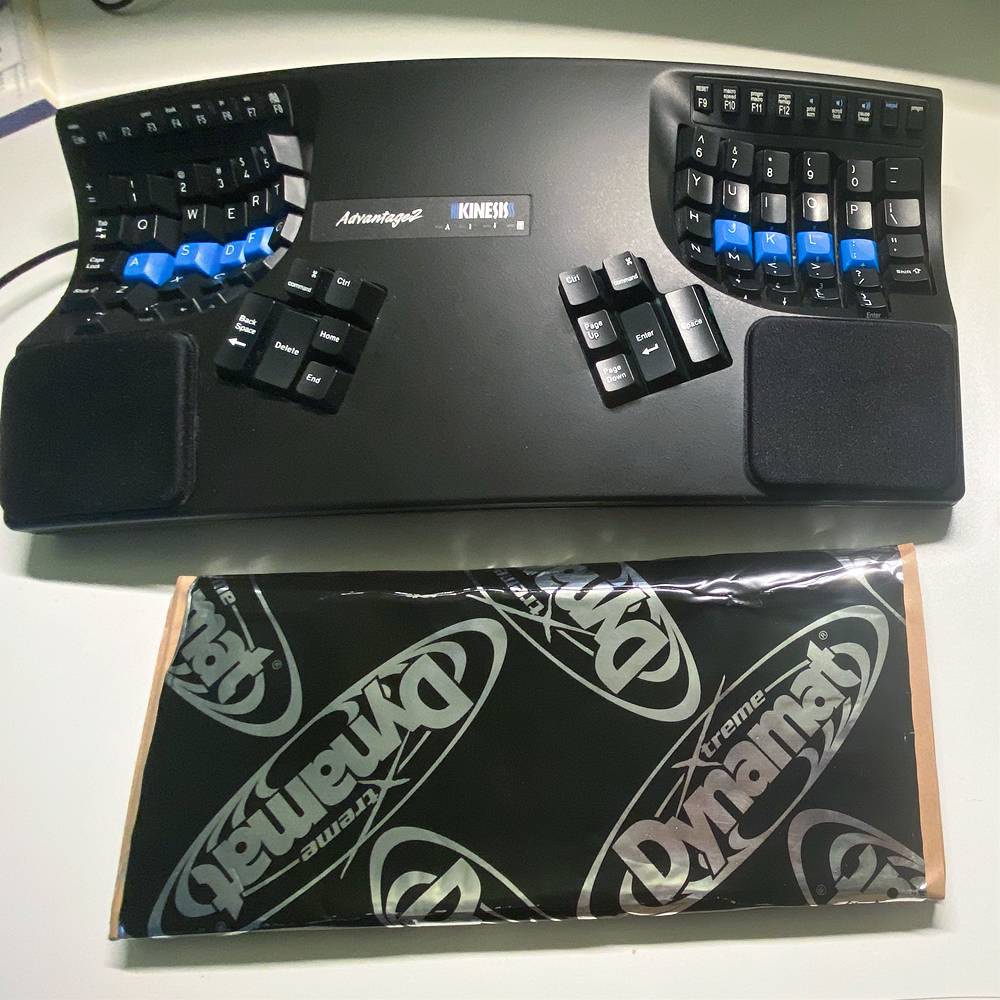
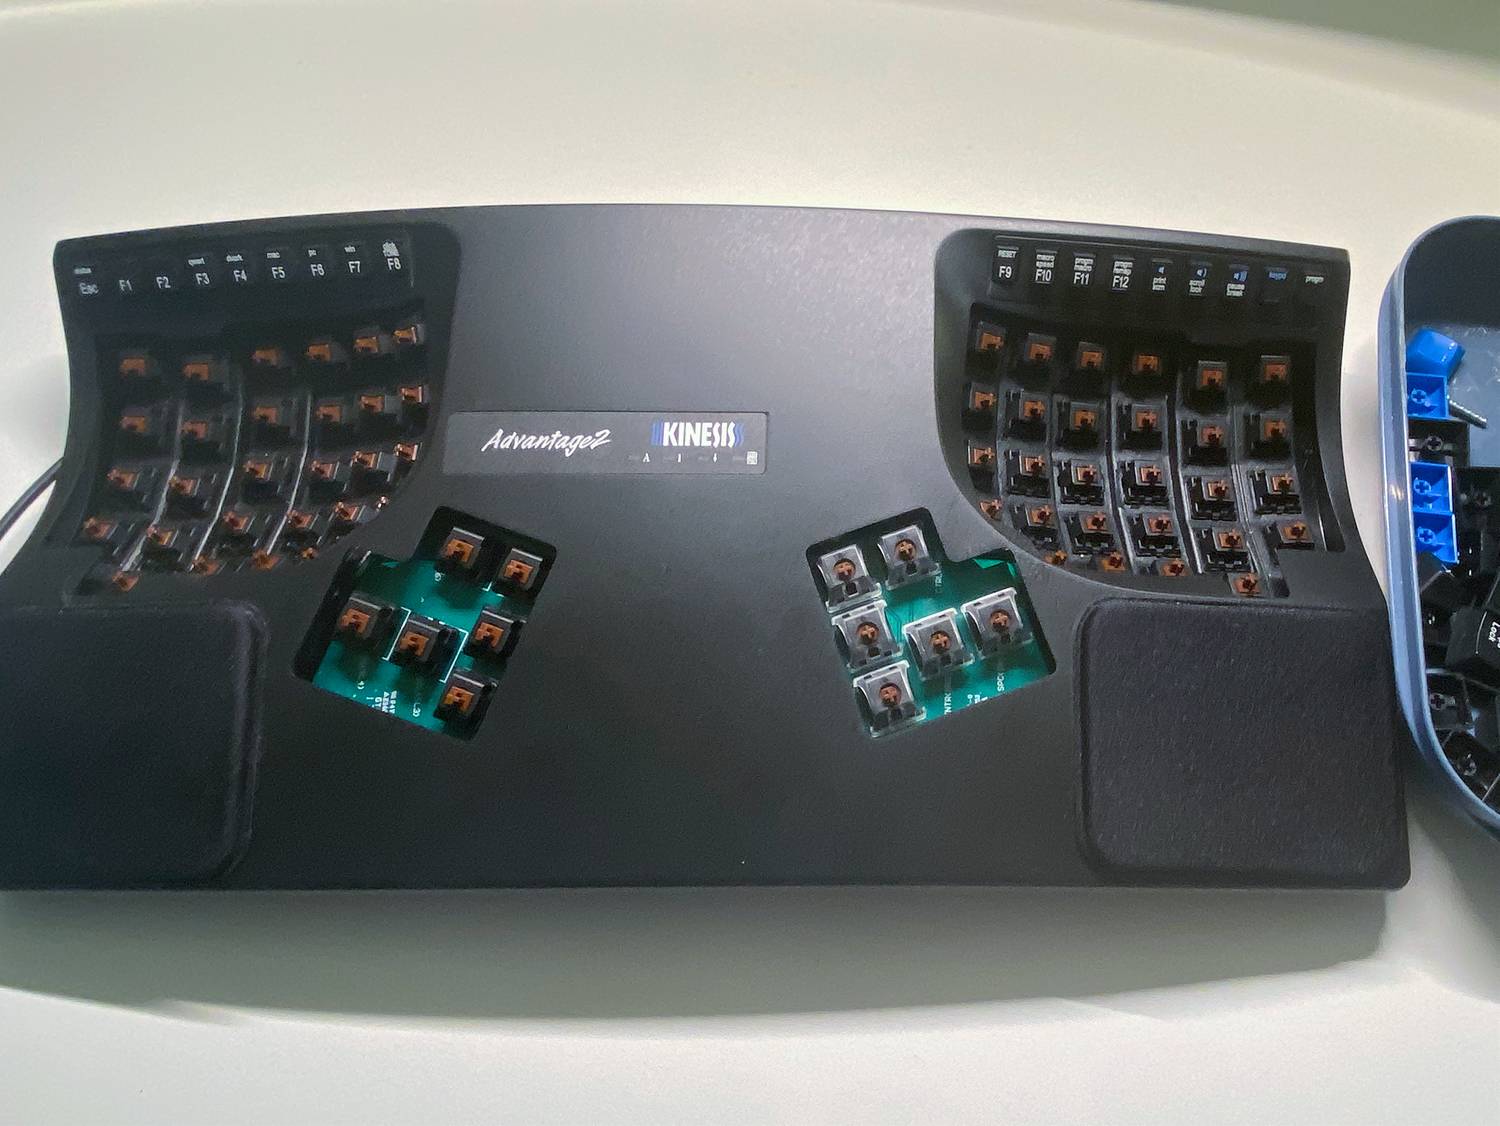 Keycaps removed.
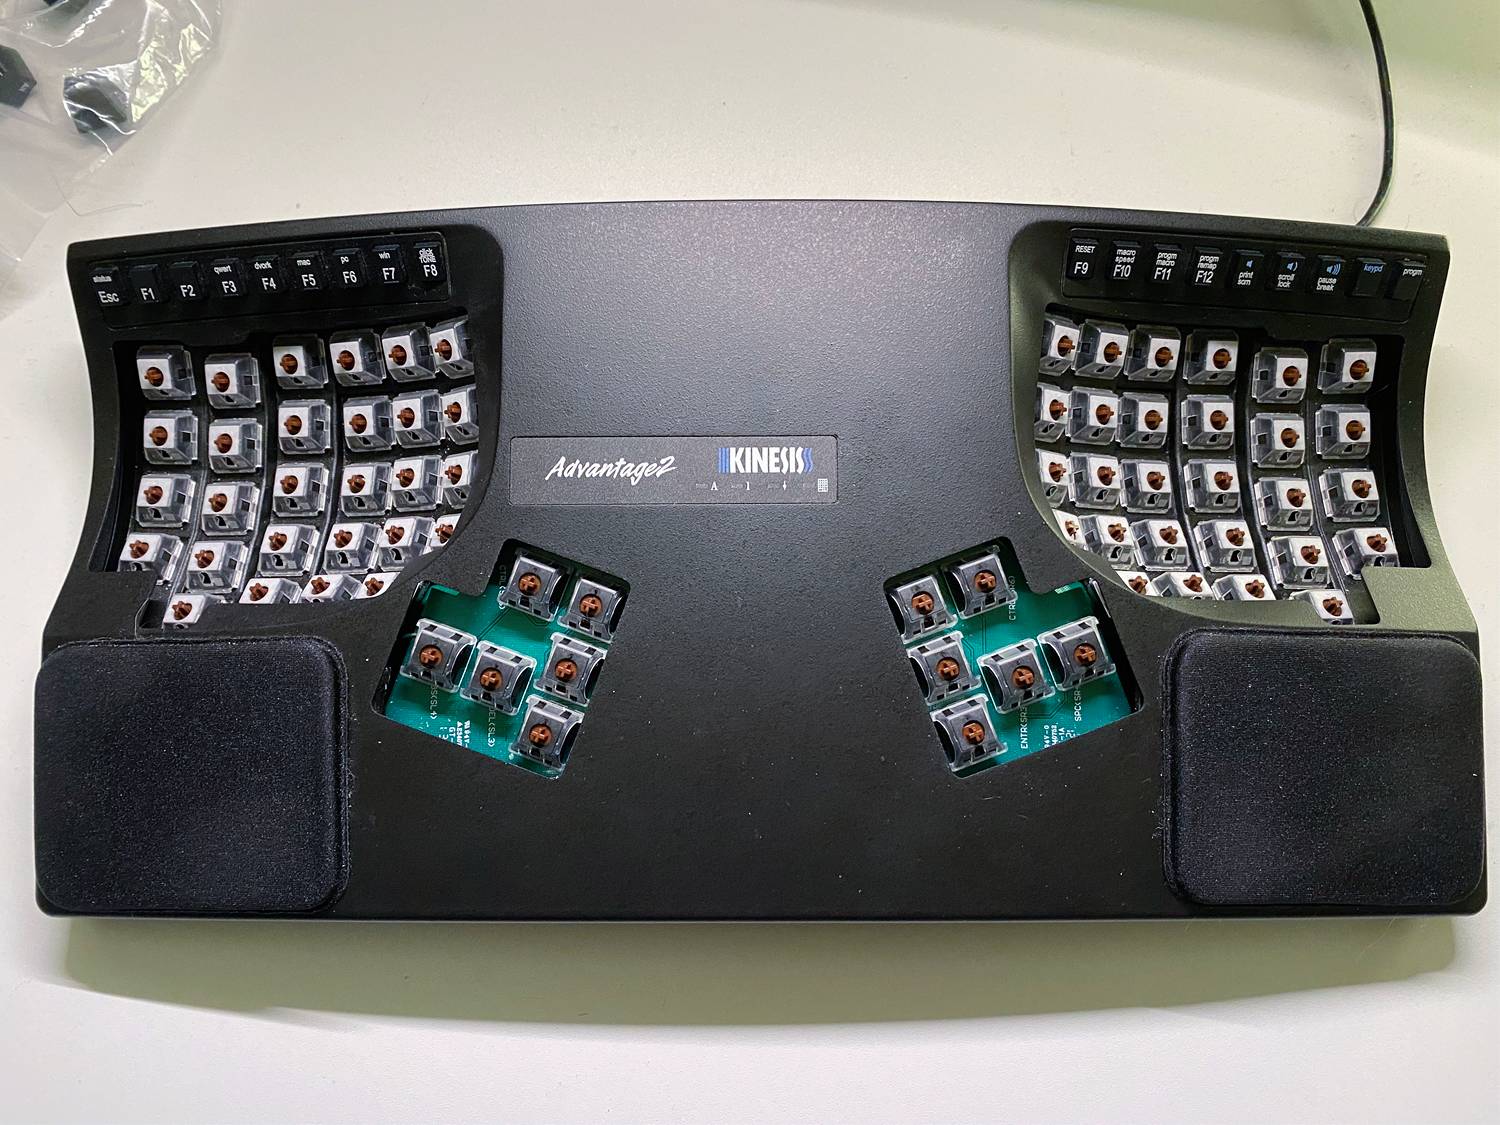 All keycaps in place. Note the colors: white keycaps are plate-mounted, transparent are PCB-mounted.
Result
After putting everything back together, the keyboard is much more silent. It’s also significantly heavier — and expensive 😬.
Here’s a before/after audio sample. Unfortunately the levels between recordings aren’t normalized, so the “after” doesn’t sound much quieter :( It’s definitely the case in real life though! If you pay attention, you can notice that the sound got less “clicky” after the modifications.
Overall I’m really happy with the result and it made for a good weekend project!
Notes:
I considered other alternatives to further silence the keyboard, but ultimately decided against them because I was happy enough with the result:
- Getting PBT keycaps, which are heavier and produce a slightly quieter (and deeper) sound.
- Getting the Advantage with the quiet LF switches rather than the Cherry MX brown switches. This model was not available when I ordered mine, and I didn’t want to wait for it to arrive, for the sake of my fingers.
Links:
- The main inspiration for this project was this comment on reddit.
- A good overview of noise sources in mechanical keyboards and how to counter them.